

- Posted by : admin
- Uncategorized
What are the common mistakes one should avoid and the best steps to be taken before designing a high-quality vinyl sticker?
We all want to provide high-quality vinyl stickers for our customers. But, before reaching the final printing, we have noted that we have made a mistake. Now we have to go back to designing and edit again. But do you know there are a few steps we can take to avoid them?
Let’s cover all the steps from start to finish in this comprehensive guide on how to design high-quality vinyl stickers.
We can say, there are 6 basic steps :
1: Purpose And Decision
Purpose: Determine the purpose of your sticker and who your audience is.
[ POINTS TO REMEMBER :
For Marketing: If the sticker is for marketing, it should effectively promote a brand, product, or event.
For Decoration: For decorative purposes, focus on aesthetics and appeal.
For Instructional: If the sticker serves a functional purpose (like instructions or warnings), ensure clarity and readability.
Indoor vs. Outdoor: Outdoor stickers must be durable and weather-resistant while indoor stickers can focus more on design and less on durability. ]
2: DESIGN
Let’s start designing :
Core Message: Note the main message or theme you want to communicate. This could be a slogan, brand name, artwork, or information.
Size and Shape: Decide the size and shape of your sticker. ( Common shapes include circles, squares, rectangles, and custom die-cut shapes. )
Choosing the right Color :
Colors: Choose colors that align with your brand or the message you want to convey. Bright, vibrant colors are often effective for stickers.
Color Psychology: Don’t forget to consider the psychological impact of colors. For example, red can evoke excitement, and blue can create a sense of calm.
Contrast: Always use contrasting colors to make elements stand out. Also make sure there is enough contrast between text and background to maintain readability.
Color Mode: Use CMYK color mode for print designs to ensure color accuracy in the final print. ( RGB is suitable for digital screens but not for print. )
Image, Graphics and Texts :
Graphics: Use high-quality/high-resolution images and vector graphics. ( Vector graphics are ideal because they can be scaled without losing quality. )
Typography: Ensure the text is readable and matches the overall design. Ensure that the text is legible from a distance also. Test different sizes and styles to find the best combination.
In vector-based software, convert text to outlines (or paths) before sending your design to the printer. This prevents font issues if the printer doesn’t have the same fonts installed.
Add Cut Lines: These are lines that indicate where the sticker should be cut. They are essential for die-cut stickers, as they guide the cutting machine to produce the desired shape.
[ Accurate cut lines ensure your stickers are cut precisely and match the intended design, especially for custom shapes.]
Add BleedArea: Include a bleed area (typically 1/8 inch or 3 mm) around your design to ensure there are no unprinted edges.
Design Trends: A little research about the latest trends before any work is not a bad idea. Always try to stay informed about current design trends, so that our design can resonate better with the now audiences.
Cultural Sensitivity: Something we sure be aware is about the cultural connotations and sensitivities. Knowing them will help us to avoid any design elements that could be misinterpreted.
Simplicity: This is the biggest and most important one to keep in mind . Always keep the design simple and avoid clutter. A clean design is more effective and visually appealing.
3: SOFTWARES
Adobe Illustrator: A professional vector graphic design tool and so Ideal for creating detailed and scalable designs without losing image quality.
CorelDRAW: Another powerful vector graphic design software.
Inkscape: A free, open-source vector graphic design tool.
Procreate: Good for drawing and creating custom illustrations, especially on iPads.
4: TECHNICALS
Now let’s look at some important technical things to keep in mind.
Resolution: For raster images, use a resolution of at least 300 DPI (dots per inch) to ensure high-quality prints.
Color Mode: Use CMYK color mode for print designs, as this is the color mode used by printers.
File Format: Save your design in a format that supports vector graphics, such as .ai (Adobe Illustrator), .eps, or .svg. If using raster graphics, .png and .tiff are preferred for their high quality.
5: Pre-Printing Steps
Before going to printing , let’s go through some checking
Check the Design Quality: Ensure all elements of your design are high quality and properly aligned.
Bleed Area and Cut-Lines: Ensure you include proper bleed and cut lines to prevent issues with trimming and ensure your design extends to the edge.
Check the File Setup: Verify that your file is set up correctly with the proper resolution, color mode, and bleed area.
Do some Proofs: Request a proof from the printer to check for any errors before the final print run.
[ If possible, do a small test print to see how your design looks on the actual sticker material.
Consider using UV coating or lamination to protect your stickers from fading and damage. ]
6: Printing
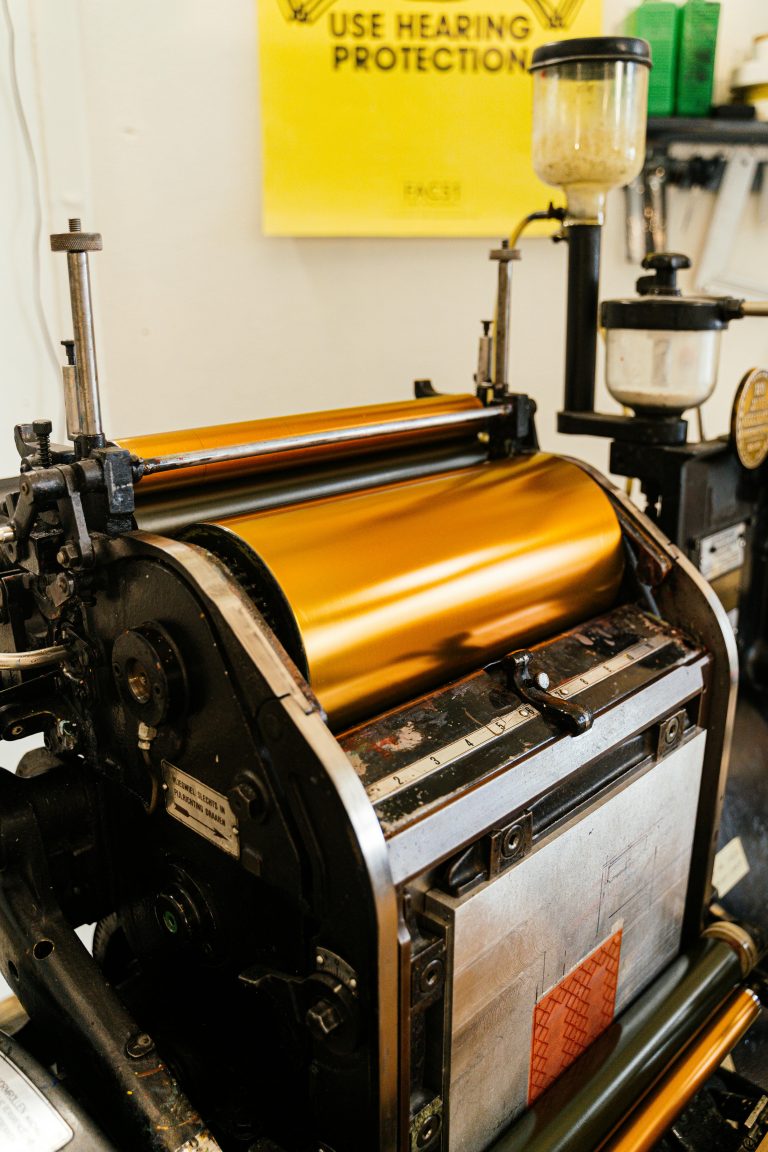
Choose a printer: Select a reputable printing service that specializes in vinyl stickers.
Material: Vinyl is durable and weather-resistant, making it ideal for stickers. Glossy and matte finishes are available, so choose one based on your preference.
The above are the most basic steps to follow to create better stickers and avoid errors. We wish you all the best in creating beautiful vinyl stickers.
If you’re seeking high-quality sticker design services, look no further than SeedGraphics. We’re renowned for our exceptional work and attention to detail. Visit our contact page to discuss your needs and learn more about our products. We look forward to working with you!

")